Setup and Optimize the National Instruments PXI-5441 Waveform Generator
The National Instruments PXI-5441 is a powerful PXI waveform generator designed to support high-speed waveform downloads up...
October 25, 2024
There are many benefits to using LabVIEW Real-Time as the OS for your PXI controller- but how do you remove Windows first? In today’s post, we will show you how to do just that by using NI MAX! Whether you’re setting up a system for deterministic control, real-time data acquisition, or embedded testing applications, this step-by-step guide will help you get up and running.
When combined with LabVIEW, the LabVIEW Real-Time Module allows developers to build dependable, standalone programs that run on embedded hardware. This module allows users to develop and implement distributed, real-time system applications for a wide range of applications!
LabVIEW Real-Time offers access to LabVIEW’s vast libraries and collections of hardware APIs, and the graphical programming method speeds up development with a user-friendly interface.
Preliminary Considerations
Before getting started, make sure that you have all of necessary components:
– A PXI controller that is currently running the Windows OS
– A PC that has NI MAX installed
– LabVIEW Real-Time Module (and associated drivers) installed on the host PC
– An Ethernet connection between the host PC and the PXI controller
– A flathead screwdriver
Depending on the PXI model that is being used, an optional additional item would be a bootable USB drive with the NI RT System Image. Be sure to back up any important files from the PXI controller! Once LabVIEW Real-Time is installed, everything on the drive will be erased.
Step 1) Toggle the PXI Controller Switches


The first step for installing LabVIEW is preparing the PXI controller. To do this, shut down the PXI that is currently running Windows and remove it from the chassis. The controller is designed with four switches on the inside. You will use the flathead screwdriver to toggle the first switch to the “on” position, as pictured above. This will tell the system that you want to run LabVIEW Real-Time.
Step 2) Adjust the BIOS Settings
Depending on the PXI controller model that you are using, you may need to adjust the BIOS settings to allow the controller to boot into Safe Mode or PXI boot mode. For those unfamiliar, the BIOS setup is a low-level interface in between the operating system and the hardware that helps NI MAX detect the hardware properly when the computer boots up.
To adjust the settings, hold F10, or repeatedly tap the Delete key during the bootup to enter BIOS. You will need to use the arrow keys to go to the LabVIEW Real-Time menu and press “enter”. Under the current hardware switch settings, you want the boot configuration to be listed as LabVIEW RT.

You will need to save the changes using the last tab (Save & Exit) and then reset the controller.

Step 3) Connect the PXI Controller and the PC
Using an ethernet cable, connect the PXI Controller to the Development PC. Once your PXI controller is powered on and connected, go to the control panel of the host computer, locating the Find “Network and Sharing Center”, and locate the “Ethernet Connection” option. Select “Properties”.

**Important!** You will want to change the IP address to be on the same subnet as the controller.
Step 4) Format the Controller
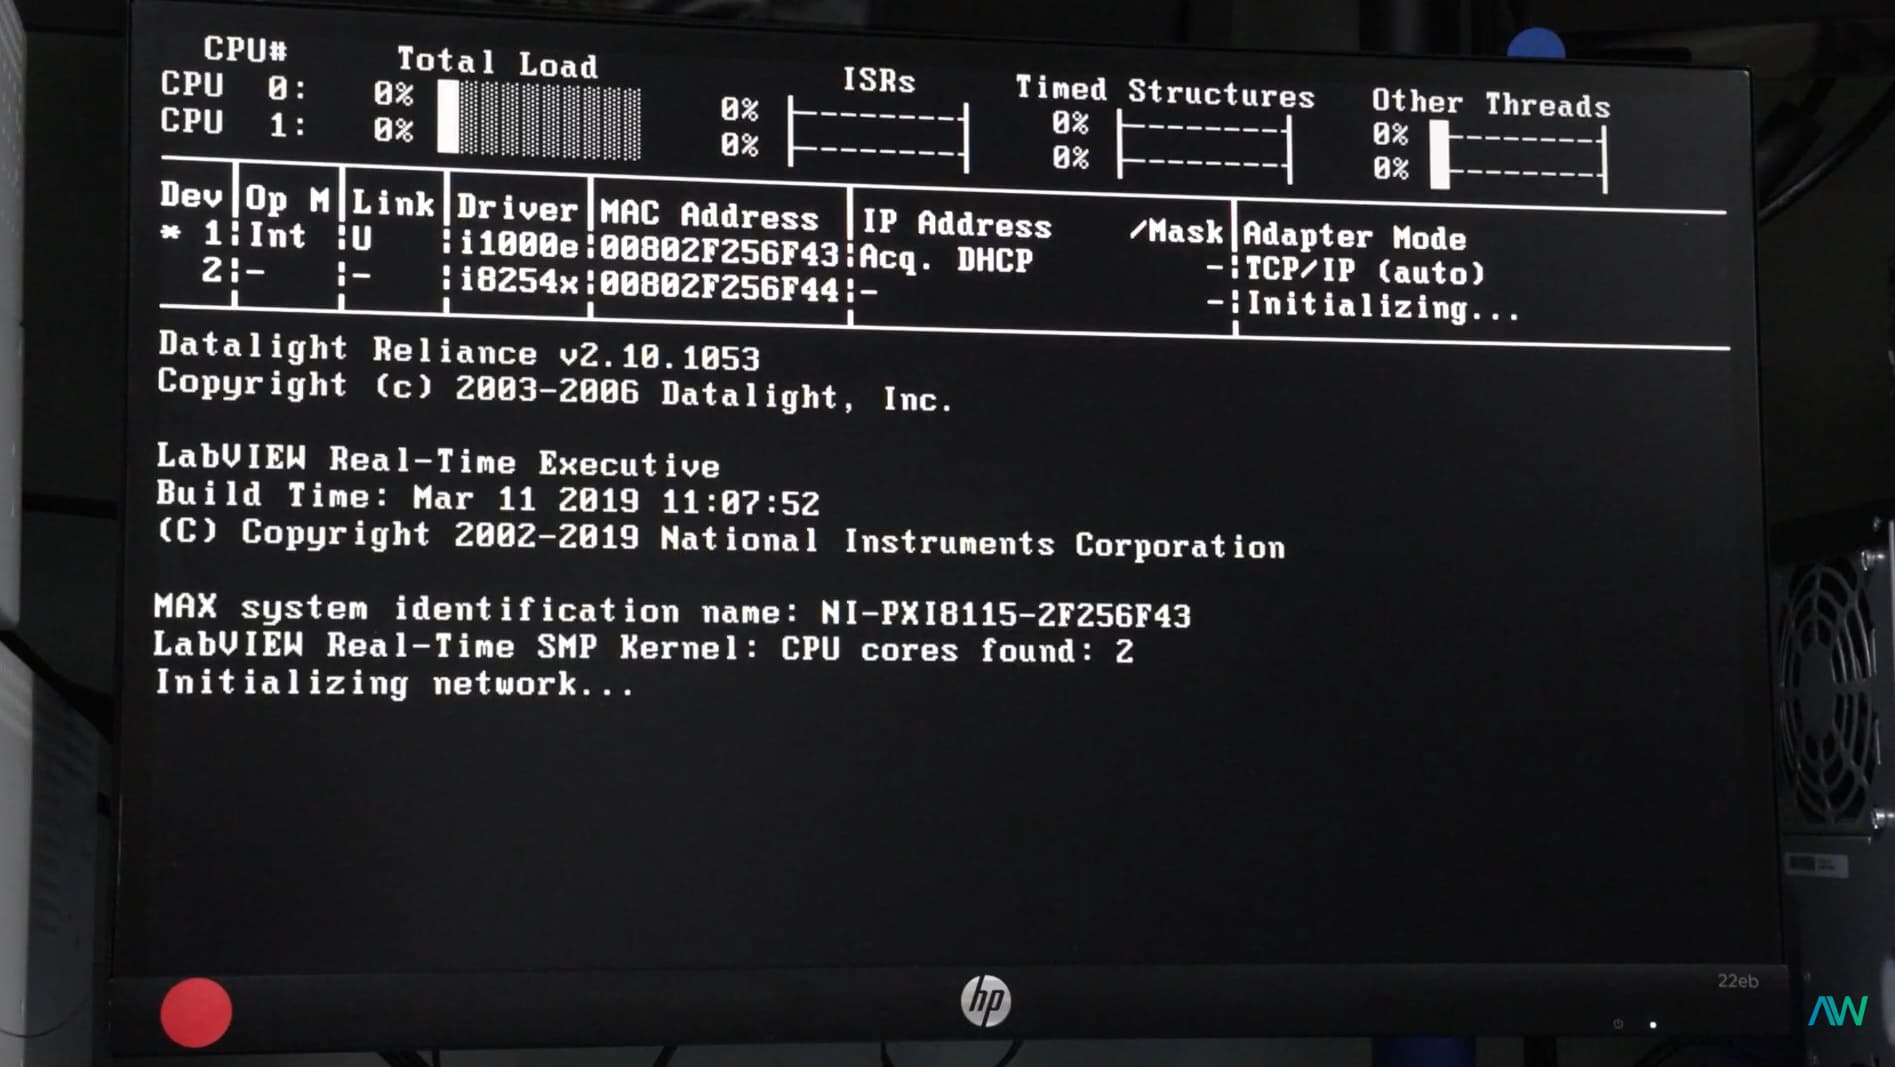
On the host PC, open up NI MAX. Your PXI controller should be listed under “Remote Systems”- you will need to right-click on the controller and select “Format Disk”. Once the formatting is complete, right click the “Software” option from the left hand side of the screen underneath the controller name. From here, choose any software of features that you will need for your system.

NI MAX will begin downloading and installing the image to the PXI controller, a process may take a few minutes to complete. Afterwards, the controller will reboot into LabVIEW Real-Time mode.
After the reboot, your PXI controller should now appear in NI MAX as a Real-Time target.

You can now install any necessary drivers and deploy VIs from your development environment. If you followed all of these steps, congrats! Your PXI controller is now running LabVIEW Real-Time, and is ready for use in high-performance and deterministic applications.
If you have any questions about this process, we want to hear from you! Send a message to support@apexwaves.com and one of our technicians will be glad to get in touch and address any issues you may be experiencing.
A monthly email packed with valuable content—industry news, tutorials, obsolescence updates, and more. No sales pitches, just insights we think you'll find helpful!
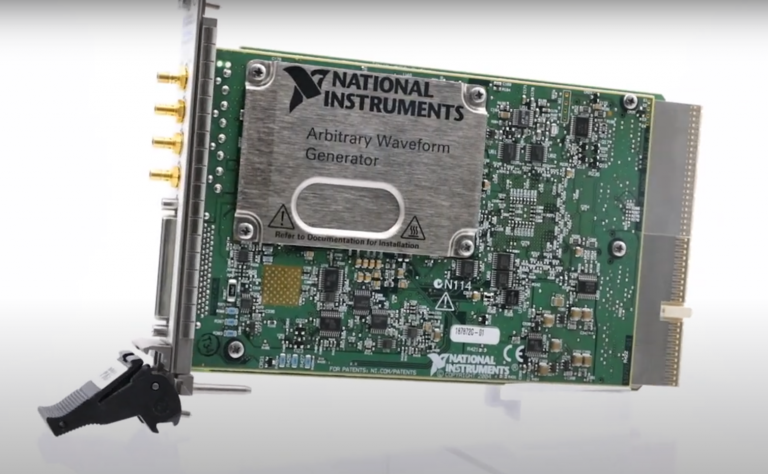
The National Instruments PXI-5441 is a powerful PXI waveform generator designed to support high-speed waveform downloads up...
Companies in almost every industry are being transformed by artificial intelligence, and autonomous machines are...
The PXIe Platform from National Instruments offers an incredibly valuable toolset for test and measurement innovation. Its...

It is no secret that simulation and testing is an important part of designing circuits....