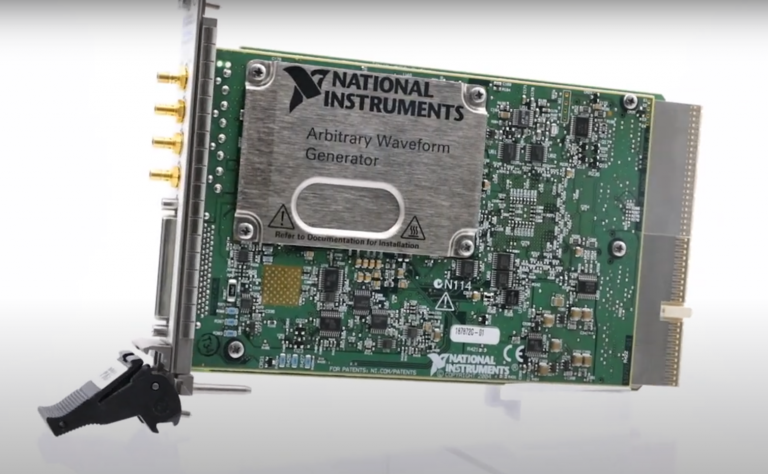
Setup and Optimize the National Instruments PXI-5441 Waveform Generator
The National Instruments PXI-5441 is a powerful PXI waveform generator designed to support high-speed waveform downloads up...
October 25, 2024
LabVIEW Real-Time is an incredibly useful software add-on designed for LabVIEW applications. When paired with the modular PXI platform, it results in a robust platform capable of executing complex data acquisition, signal processing, and control algorithms. No matter what your level of expertise is, this post serves as a simple guide to setting up your PXI controller with LabVIEW RT- so you can jump right in!
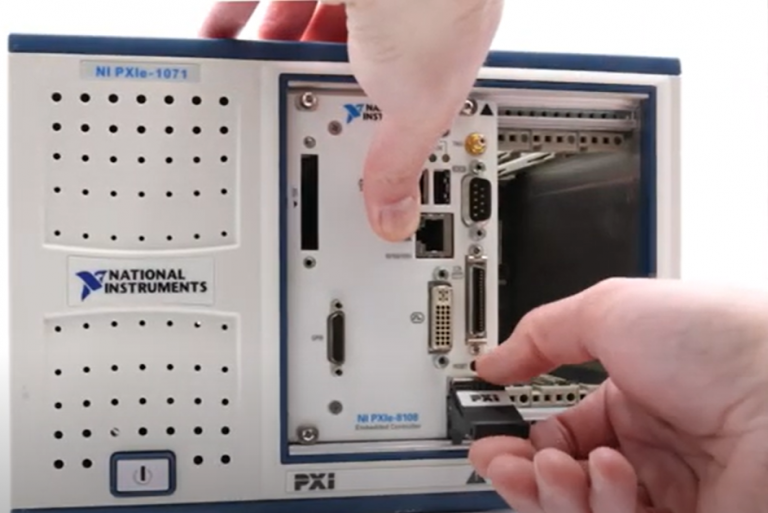
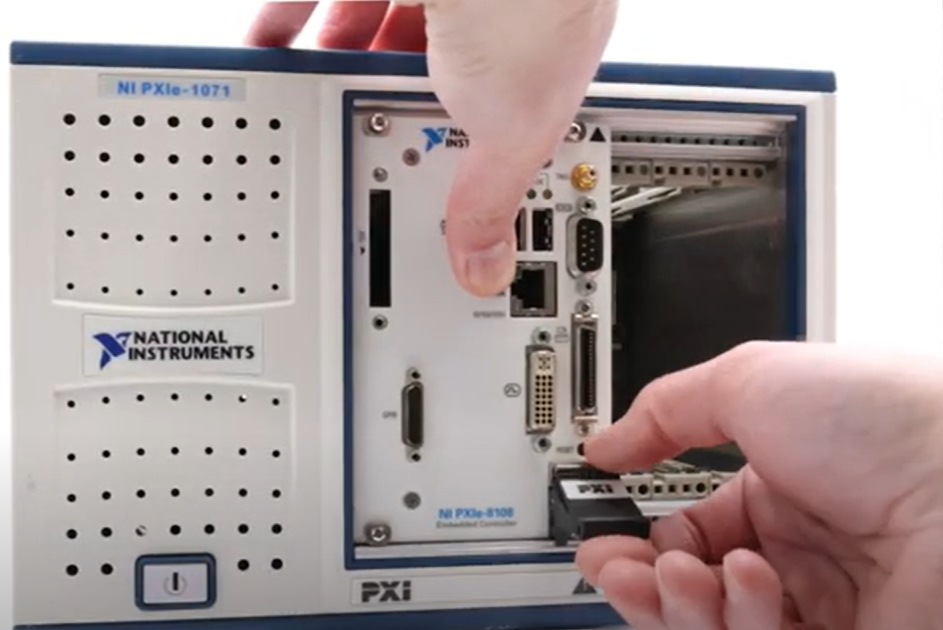
Embedded PXI controllers offer a high-performance embedded computer solution for PXI systems without having to use an external PC. When used with LabVIEW Real-Time, these compact yet powerful controllers are able to develop and implement distributed real-time system applications for testing, monitoring, and control.
Shop National Instruments PXI products here
When used within a stand-alone system, the Real-Time OS helps ensure accuracy and dependability. Another benefit of LabVIEW Real-Time is its vast library of prewritten assets and hardware APIs, which allow for deterministic data capture and help to save valuable time in development. The code written with LabVIEW Real-Time quickly deploys to the embedded device, offering precise timing and incredible reliability.
Put more simply, setting up a PXI controller for LabVIEW Real-Time integrates the controller with a host computer and allows for deployment of your LabVIEW Real-Time programs. The software is also compatible with NI’s CompactRIO systems.
While this setup is user-friendly and overall straightforward, it also requires close attention to detail in order to ensure optimal performance and compatibility. Let’s dive in!
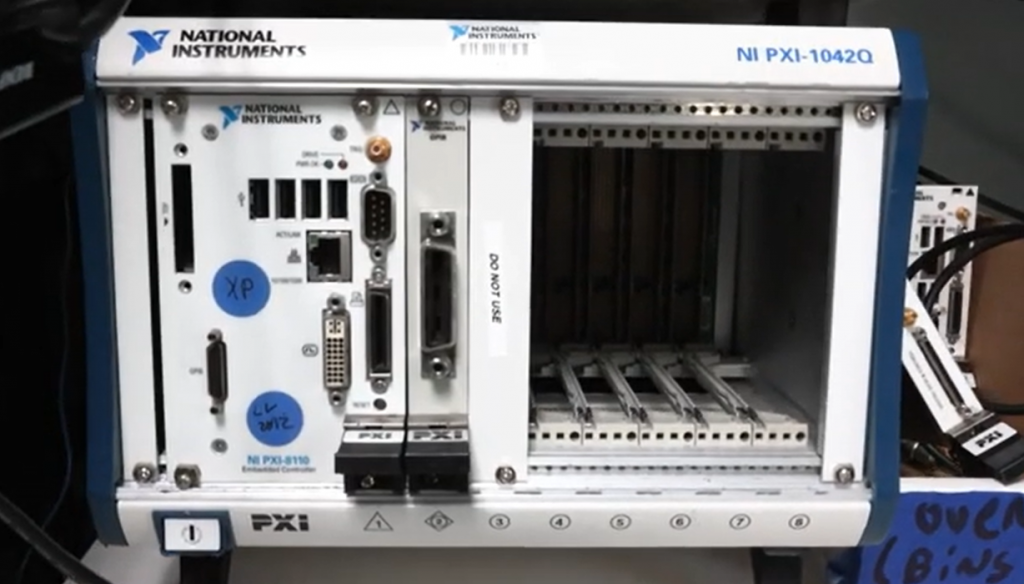
The first step is to start the controller, and then press the “Delete” key on your keyboard repeatedly until the BIOS appears. Next, you will want to use the keyboard arrow keys to navigate to the LabVIEW Real-Time menu and then press Enter. Select LabVIEW Real-Time. You will now want to save the changes and reset them so that the controller will boot in LabVIEW Real-Time.
For the physical device, you will need to use an ethernet cable in order to connect the controller to the host computer. Once securely connected, navigate to the “Control Panel” of the host computer. Under “Network and Sharing Center”, you should see an option for the Connections (ethernet).
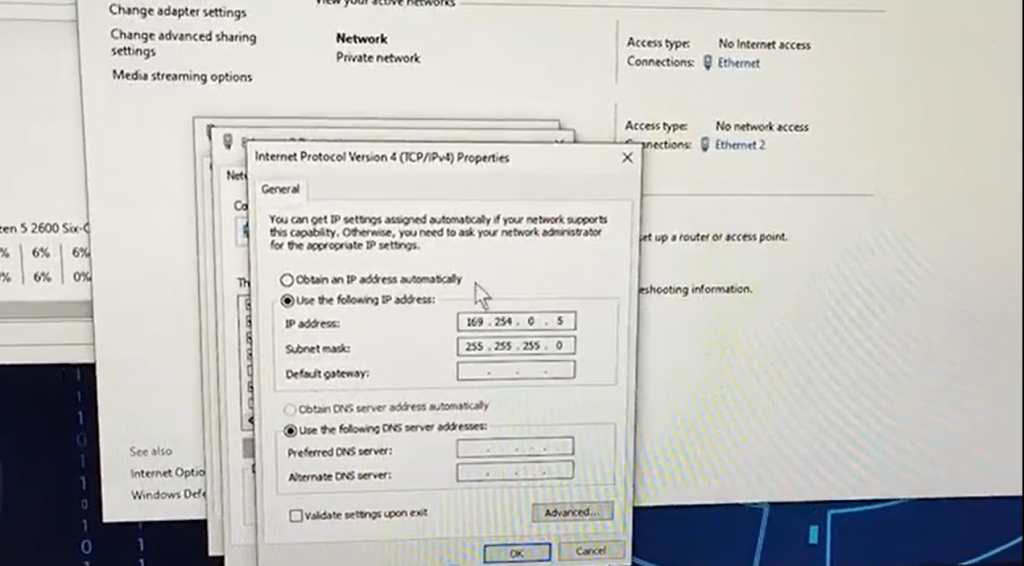
This next step is incredibly important and can be easily overlooked by anyone hoping to rush through the setup. Click on the ethernet connection, and then select the “Properties” option in the bottom left-hand corner of the popup window. You will then need to change the IP address to be on the same subnet as the controller. Afterward, right-click on the controller and find “Format Disk”.
The final step is to right-click on the required software to install! With your controller up and running, you’re ready to utilize a robust platform to deploy LabVIEW RT programs.
If you have any additional questions, don’t hesitate to reach out to the Apex Waves team. Subscribe to our YouTube channel for product highlight videos, industry insights, and additional how-to guides!
A monthly email packed with valuable content—industry news, tutorials, obsolescence updates, and more. No sales pitches, just insights we think you'll find helpful!
The National Instruments PXI-5441 is a powerful PXI waveform generator designed to support high-speed waveform downloads up...

Companies in almost every industry are being transformed by artificial intelligence, and autonomous machines are...
The PXIe Platform from National Instruments offers an incredibly valuable toolset for test and measurement innovation. Its...

It is no secret that simulation and testing is an important part of designing circuits....